How to Draw a Hermit Crab (Easy Step-by-Step)
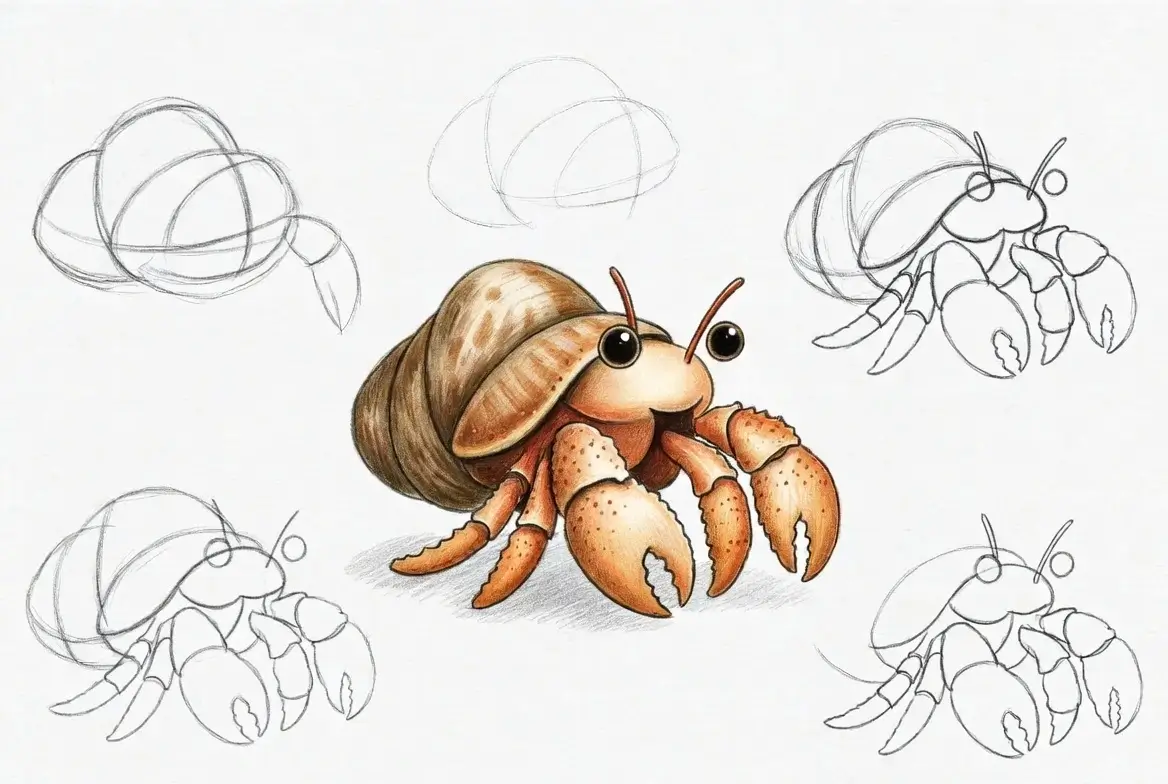
Drawing a hermit crab is fun and surprisingly easy. It is really just two things – a spiral shell and a little crab body poking out of it. Once you see it that way, the whole drawing gets simple. This guide walks you through it in 6 easy steps, from the first pencil line to the finished crab. Grab a pencil, an eraser, and some paper. Let’s draw.
What You Need
- A pencil. Draw lightly at first so you can erase mistakes.
- An eraser. For cleaning up messy lines later.
- Paper. Any kind works.
- Colored pencils or crayons (if you want). For adding color at the end.
Bonus: How to Tell Hermit Crab Gender
Step 1: Draw the Shell
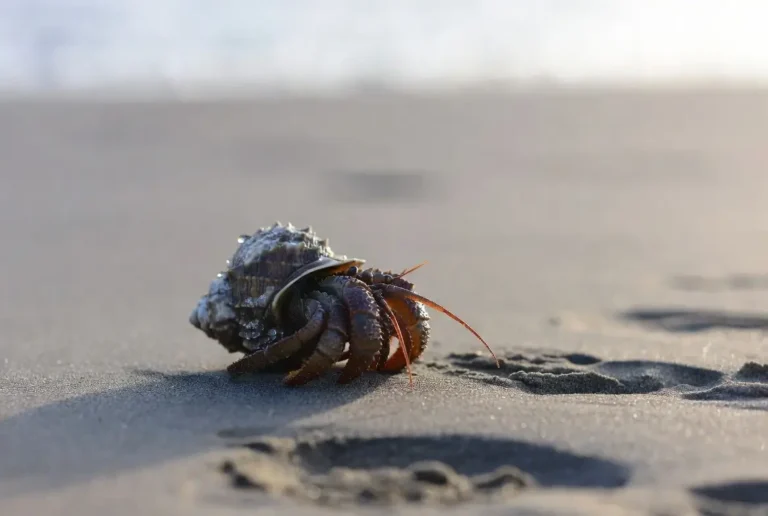
The shell is the biggest part, so start here. Draw a big oval in the middle of your page. Tilt it slightly so the right side is a little higher than the left. This oval is the outside of the shell. Now draw the spiral inside it. Start near the middle of the oval and draw a curving line that loops outward, making 2 or 3 swirls. The spiral should get bigger as it moves outward. Do not worry about making it perfect – real shells are bumpy and uneven, so a wobbly spiral actually looks better. Finally, add 3 or 4 curved lines across the shell from top to bottom. These are the ridges that real shells have.
Step 2: Draw the Head
On the left side of the shell, where the oval opens up, draw a small circle for the head. It should overlap the edge of the shell a little bit, like the crab is poking its head out. Keep the head about one-third the size of the shell – not too big, not too small.
Step 3: Draw the Eyes and Antennae
On top of the head, draw two thin straight lines going up. At the tip of each line, draw a small circle. These are the eyes on their stalks. Hermit crab eyes sit up high on sticks, so make these taller than you think – about the same height as the head. Now draw two longer lines coming out from between the eyes, curving outward and slightly down. Make them wavy and a little longer than the eye stalks. These are the antennae that the crab uses to feel and smell things.
Step 4: Draw the Two Claws
This is the fun part. Hermit crabs have two claws and one is much bigger than the other.
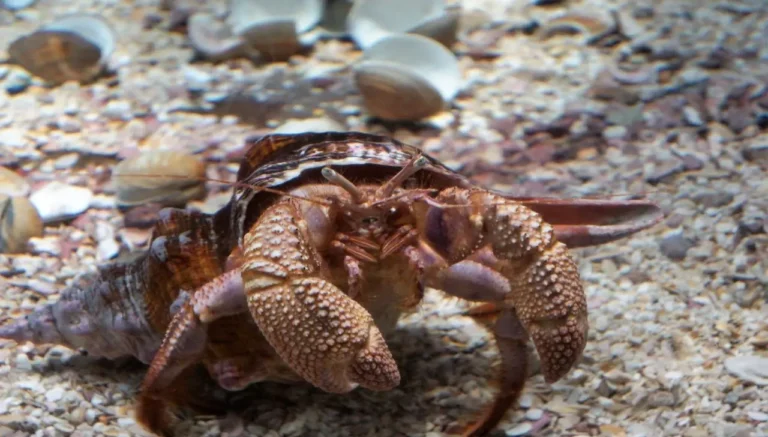
Big claw: Draw this one on the left side, below the head. Draw a fat letter “C” shape, then close it with another curved line so it looks like a chubby pincher. Add a line down the middle to show where the claw opens and closes. Make this claw about the same size as the head – nice and chunky.
Small claw: Draw the same shape on the right side, but about half the size. Tuck it a little closer to the body so it looks like it is behind the big claw. Add the same line down the middle for the opening.
Step 5: Draw the Walking Legs
Below the claws, draw 4 legs – 2 on each side. Each leg is just 3 short lines connected at slight angles, like a zigzag going downward. Think of the letter “Z” turned on its side. The front pair of legs should be a little longer than the back pair. Add a small point at the tip of each leg. Keep the legs thin – they should look skinny compared to the chunky claws. You only need to draw 4 legs. Hermit crabs actually have 10 legs total, but the other 6 (the claws plus 4 hidden ones) are already drawn or hidden inside the shell.
Step 6: Add Details and Color
Now go back and add the little touches that make your drawing pop:
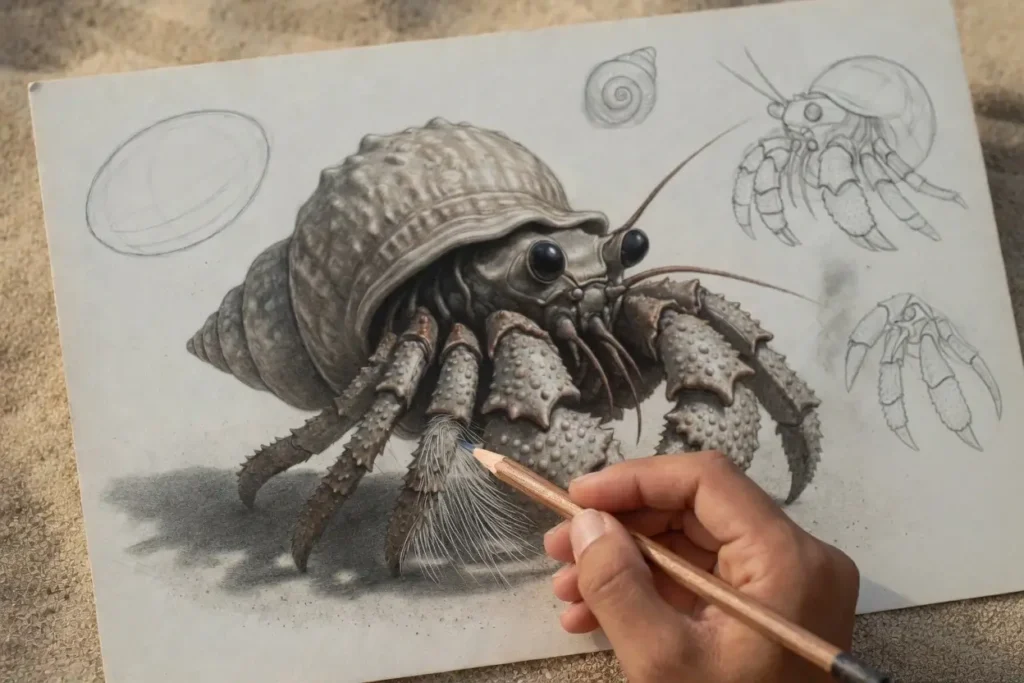
- Shell texture. Add a few small dots or short lines on the shell surface. This makes it look rough and real instead of smooth and flat.
- Claw bumps. Add tiny dots on both claws. Real hermit crab claws have a rough, bumpy surface.
- Leg joints. Draw small lines across each leg where it bends. This makes the legs look jointed like a real crab.
- Ground line. Draw a straight line under the crab and add a few dots for sand. This gives the crab something to stand on.
Erase any rough lines you do not need anymore. If you want to add color, here are some ideas:
- Shell – light brown, tan, or sandy yellow. Add darker brown in the spiral grooves.
- Body and claws – reddish brown or dark orange. Strawberry hermit crabs are bright red if you want something colorful.
- Eyes – small black dots on the stalks.
- Legs – same color as the body but a little lighter.
- Sand – light yellow or beige under the ground line.
Bonus: What Do Hermit Crab Eggs Look Like?
Quick Version for Kids
If you are drawing with a young child, keep it even simpler. Draw a big spiral for the shell (like a snail shell). Add a circle for the head. Draw two round claws – one big, one small. Add stick legs going down. Put two dots on sticks for eyes. Done. Color it however you want – kids love making the shell rainbow colored, and that is perfectly fine.
Common Mistakes to Avoid
- Making both claws the same size. One claw should be clearly bigger than the other. This is one of the most recognizable things about a hermit crab.
- Drawing the eyes flat on the head. Hermit crab eyes sit on tall stalks. If you draw them flat, it looks like a regular crab, not a hermit crab.
- Forgetting the spiral. Without the spiral on the shell, it just looks like a blob. The spiral is what makes the shell look like a real snail shell.
- Drawing too many legs. You only see 4 walking legs from the outside. Do not draw 8 or 10 – the rest are hidden inside the shell.
- Making the shell too small. The shell should be the biggest thing in the drawing. The crab’s body is small compared to the shell it carries.
Bonus: How Many Legs Does a Hermit Crab Have?
Frequently Asked Questions
Q1: What is the easiest way to draw a hermit crab?
A: Draw it from the side view. Start with an oval for the shell, add a spiral inside, then draw the head, claws, and legs one at a time. Side view is the easiest angle because everything is visible and nothing overlaps.
Q2: What shapes do I need to draw a hermit crab?
A: Five shapes: an oval (shell), a spiral (inside the shell), a circle (head), two C-shapes (claws), and zigzag lines (legs). That is all a hermit crab is made of.
Q3: How do I make my drawing look more real?
A: Add texture. Put dots on the claws, ridges on the shell, and joint lines on the legs. Also make the shell a little uneven instead of perfectly smooth. Real shells are bumpy and chipped.
Credits: Art for Kids Hub